
Persistent Musty Odor
An odor that remains after cleaning may point to damp materials or concealed microbial growth, particularly near a basement, bathroom, attic access, or previously wet area.
Serving Minneapolis, Minnesota & surrounding areas
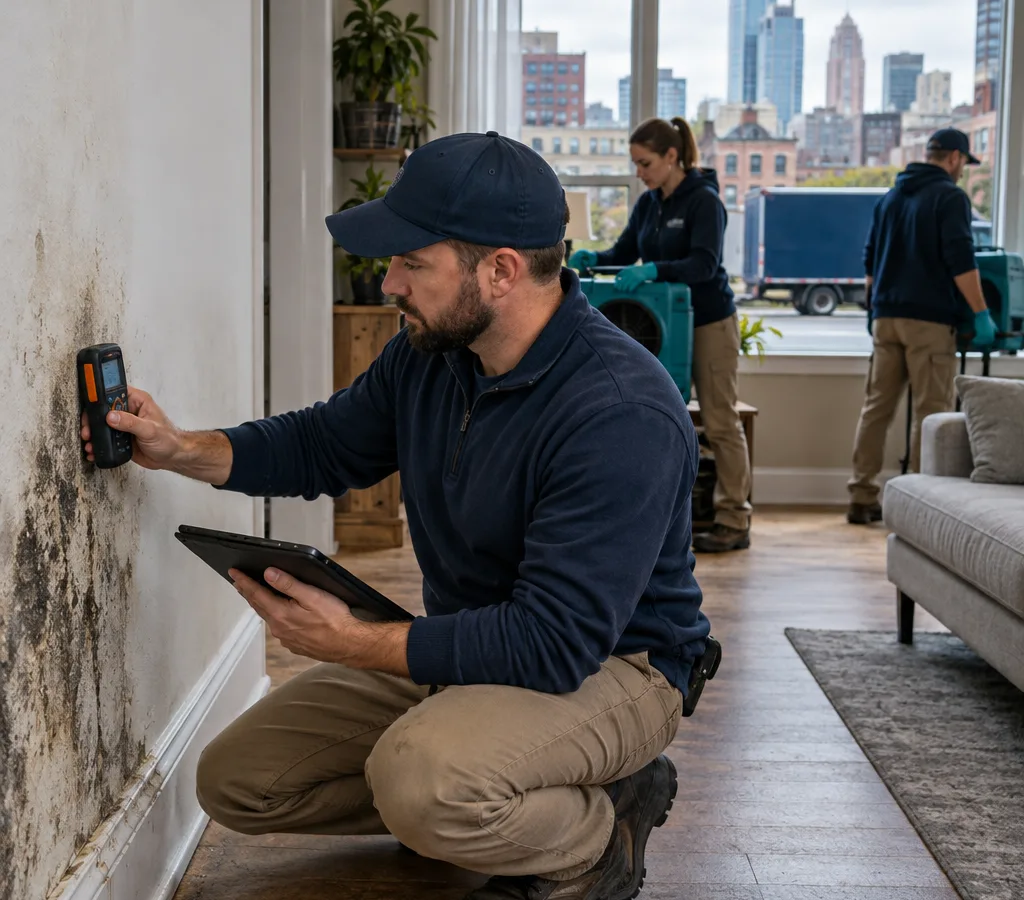
Mold inspection · Minneapolis, Minnesota
Get a careful assessment of visible concerns, concealed moisture, and conditions that may support mold growth, followed by clear findings and practical next steps.
Evidence-based assessment
A mold inspection in Minneapolis should answer two basic questions: Is there evidence of mold growth, and what moisture condition allowed it to develop? Mold Abatement Minneapolis examines the building rather than relying on a quick look at one stain or patch. The inspection considers visible growth, water damage, musty odors, condensation, plumbing leaks, ventilation, and moisture readings in suspect materials.
During each inspection, a mold abatement company Minneapolis homeowners rely on explains what was observed, which areas need attention, and whether additional testing is likely to help. The goal is a useful assessment, not an alarming list of possibilities. That distinction matters because discoloration is not always mold, while concealed growth may exist behind an apparently clean surface.
Minneapolis buildings face pronounced seasonal changes. Winter temperature differences can produce condensation on cold windows, exterior walls, and other poorly insulated surfaces. Spring snowmelt and heavy rain can expose foundation or drainage concerns. Summer humidity may affect basements and rooms with limited air movement. An inspection connects those conditions to evidence found in the property.
Property-wide context
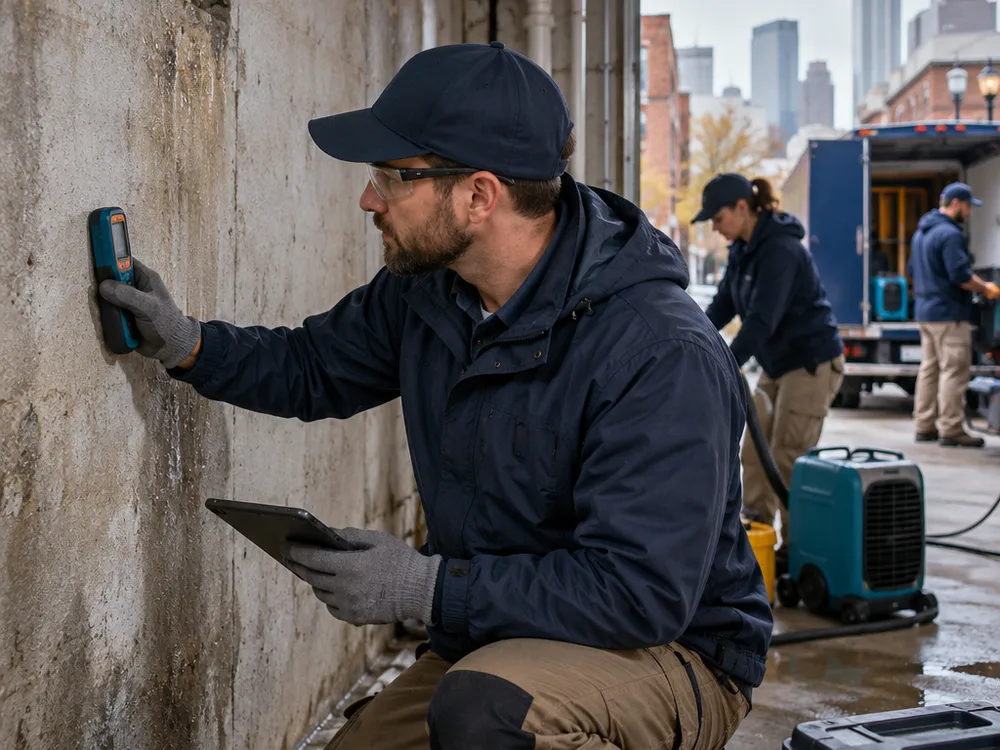
The inspection starts with the areas connected to the reported concern, then considers nearby rooms and building systems that may share the same moisture source. Common inspection points include basements, attics, bathrooms, kitchens, utility areas, window openings, exterior-facing walls, and spaces near roof or plumbing leaks.
A noninvasive inspection may use a moisture meter to compare suspect materials with dry reference areas. A thermal imaging camera can help identify temperature patterns that warrant closer investigation, but it does not detect mold by itself. The inspector also looks for staining, deterioration, condensation, damaged finishes, and ventilation problems. When access permits, the condition of exposed framing, insulation, drywall, and flooring is considered.
Older housing in areas such as Phillips and Powderhorn may contain multiple generations of finishes or past repairs, which can complicate the search for a leak path. In Northeast Minneapolis, both older homes and converted spaces may require careful attention to rooflines, masonry, additions, and altered ventilation. Properties near the Chain of Lakes still need evidence-based assessment; proximity to water alone does not establish an indoor mold problem.
When to investigate
An odor that remains after cleaning may point to damp materials or concealed microbial growth, particularly near a basement, bathroom, attic access, or previously wet area.
Spotting, fuzzy growth, or recurring stains deserve closer review. Appearance alone cannot reliably identify the material or explain why it developed.
A roof leak, plumbing failure, appliance overflow, sewer backup, or wet basement can leave moisture in drywall, flooring, insulation, and enclosed cavities.
Moisture collecting on windows, exterior walls, pipes, or bathroom surfaces may signal an insulation, ventilation, humidity, or temperature issue.
An inspection can document concerns before a purchase, sale, renovation, or response to a tenant complaint. It should complement, rather than replace, a general property inspection.
Peeling paint, swollen trim, soft drywall, cupped flooring, or deteriorated ceiling finishes may indicate an active or previous moisture problem.
History to findings
Step 1 of 5
We start with what you have noticed and when it began. Details about leaks, flooding, odors, repairs, condensation, and changes in heating or ventilation help direct the assessment.
Step 2 of 5
The inspector examines relevant rooms and accessible adjacent spaces for visible growth, water staining, damaged materials, and conditions that can keep surfaces damp.
Step 3 of 5
Moisture readings and other appropriate tools help narrow the concern. Infrared images may guide further investigation, but readings must be interpreted alongside direct observations.
Step 4 of 5
Air or surface samples are recommended only when they can answer a specific question. Samples are collected using a defined method and submitted to a qualified laboratory for analysis.
Step 5 of 5
You receive a clear account of observed conditions, likely moisture sources, areas that could not be accessed, and reasonable next steps. Laboratory results require additional time when sampling is performed.
Purpose-led sampling
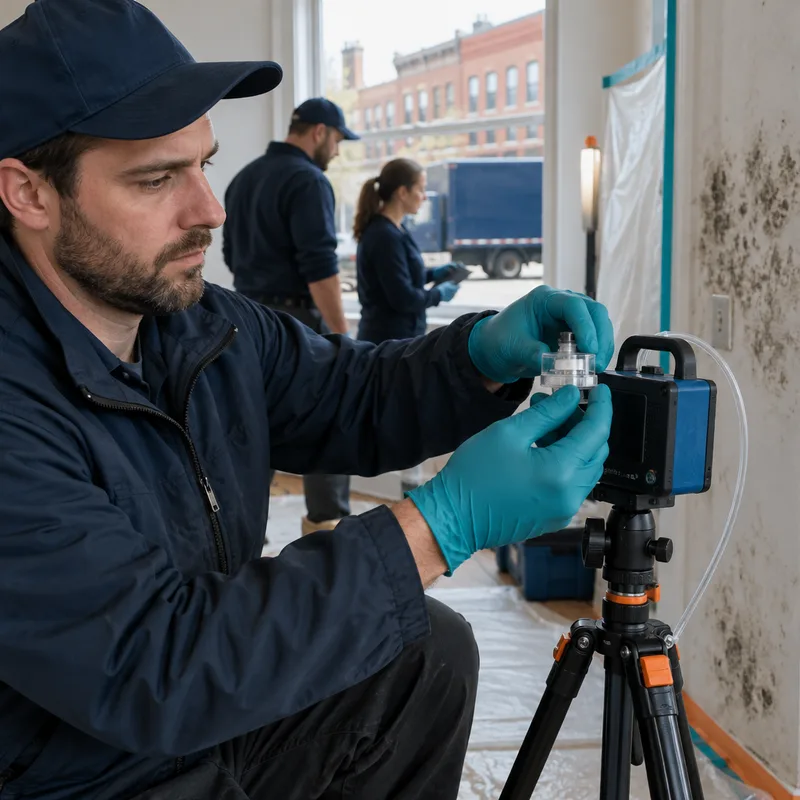
Testing is not automatically necessary when visible growth and its moisture source are already clear. In that situation, the practical priorities are correcting the water problem, defining the affected materials, and planning appropriate cleanup. Sampling should have a purpose rather than functioning as a general pass-or-fail test for a building.
Air sampling may compare indoor samples with an outdoor reference sample or investigate a concern where growth is suspected but not visible. Surface sampling can help characterize material on a specific area. Common methods include spore-trap air cassettes, tape lifts, and swabs. Laboratory analysis identifies material found in the sample, but results must be interpreted with the inspection observations because mold spores naturally exist indoors and outdoors.
There is no single universal indoor spore count that proves every property is safe or unsafe. Sample location, weather, ventilation, recent cleaning, and building conditions all affect results. A sound recommendation states the question being tested, the method used, and the limits of what the result can establish.
Minneapolis building context
Minneapolis weather places building assemblies under very different conditions across the year. During cold weather, indoor moisture can condense where warm air reaches a cold surface. Frost or condensation in an attic may point to air leakage, inadequate exhaust routing, or ventilation concerns rather than a roof leak alone. Bathroom and kitchen exhaust ducts should discharge outdoors, not into an attic or enclosed cavity.
Basements require equal care. Efflorescence on masonry indicates that moisture has moved through the material, but the mineral deposit itself is not mold. Investigators distinguish that condition from organic growth and then consider grading, drainage, plumbing, foundation seepage, and indoor humidity. Finished basement walls can conceal evidence, so access limitations should be documented rather than treated as certainty.
In neighborhoods with older housing, including Longfellow and parts of South Minneapolis, plaster walls, masonry foundations, wood framing, and later remodeling may all occur in the same property. Those materials respond differently to moisture. A finding should identify what is known, what remains concealed, and what additional access or repair may be needed.
Inspection pricing
A Minneapolis mold inspection typically costs about $300 to $700 for a standard home, while larger properties, extensive concerns, difficult access, or added laboratory sampling may increase the total. Sampling fees commonly vary with the number and type of samples collected.
Final pricing depends on property size, inspection scope, affected locations, travel, documentation needs, and whether air or surface samples are appropriate. Ask what the quoted inspection includes and whether laboratory charges are separate. The exact cost is confirmed when the property details and requested scope are reviewed.
If an odor, stain, leak, or damp area is raising questions, arrange an inspection before covering the surface or disturbing suspect materials. Clear documentation can help you make the next decision with better information.
Book Your Free InspectionCommon questions
Plan the next step
Tell Mold Abatement Minneapolis what you have observed, where it is occurring, and whether the property has a history of leaks or water damage. We will help define an appropriate inspection scope and explain what to expect.